Ceiling Installation – Part Deux
We exchanged the FRP for plywood underlayment for the ceiling panels. Preliminary planning suggests we need four panels, one about 29 3/4″ from the back wall to the first rib, a 48″ panel, and two panels about 16″ inches each. The 48 inch panel is probably going to be the most challenging. Although the plywood is more rigid than FRP, it bends readily, especially longitudinally.
Another challenge is how to cut the panels. Originally, I was going to use a cordless circular saw. However, in order to get the straightest cuts I can, I think I’ll use my table saw. It’s a portable one, so the table and rail are not very large, but it might work.
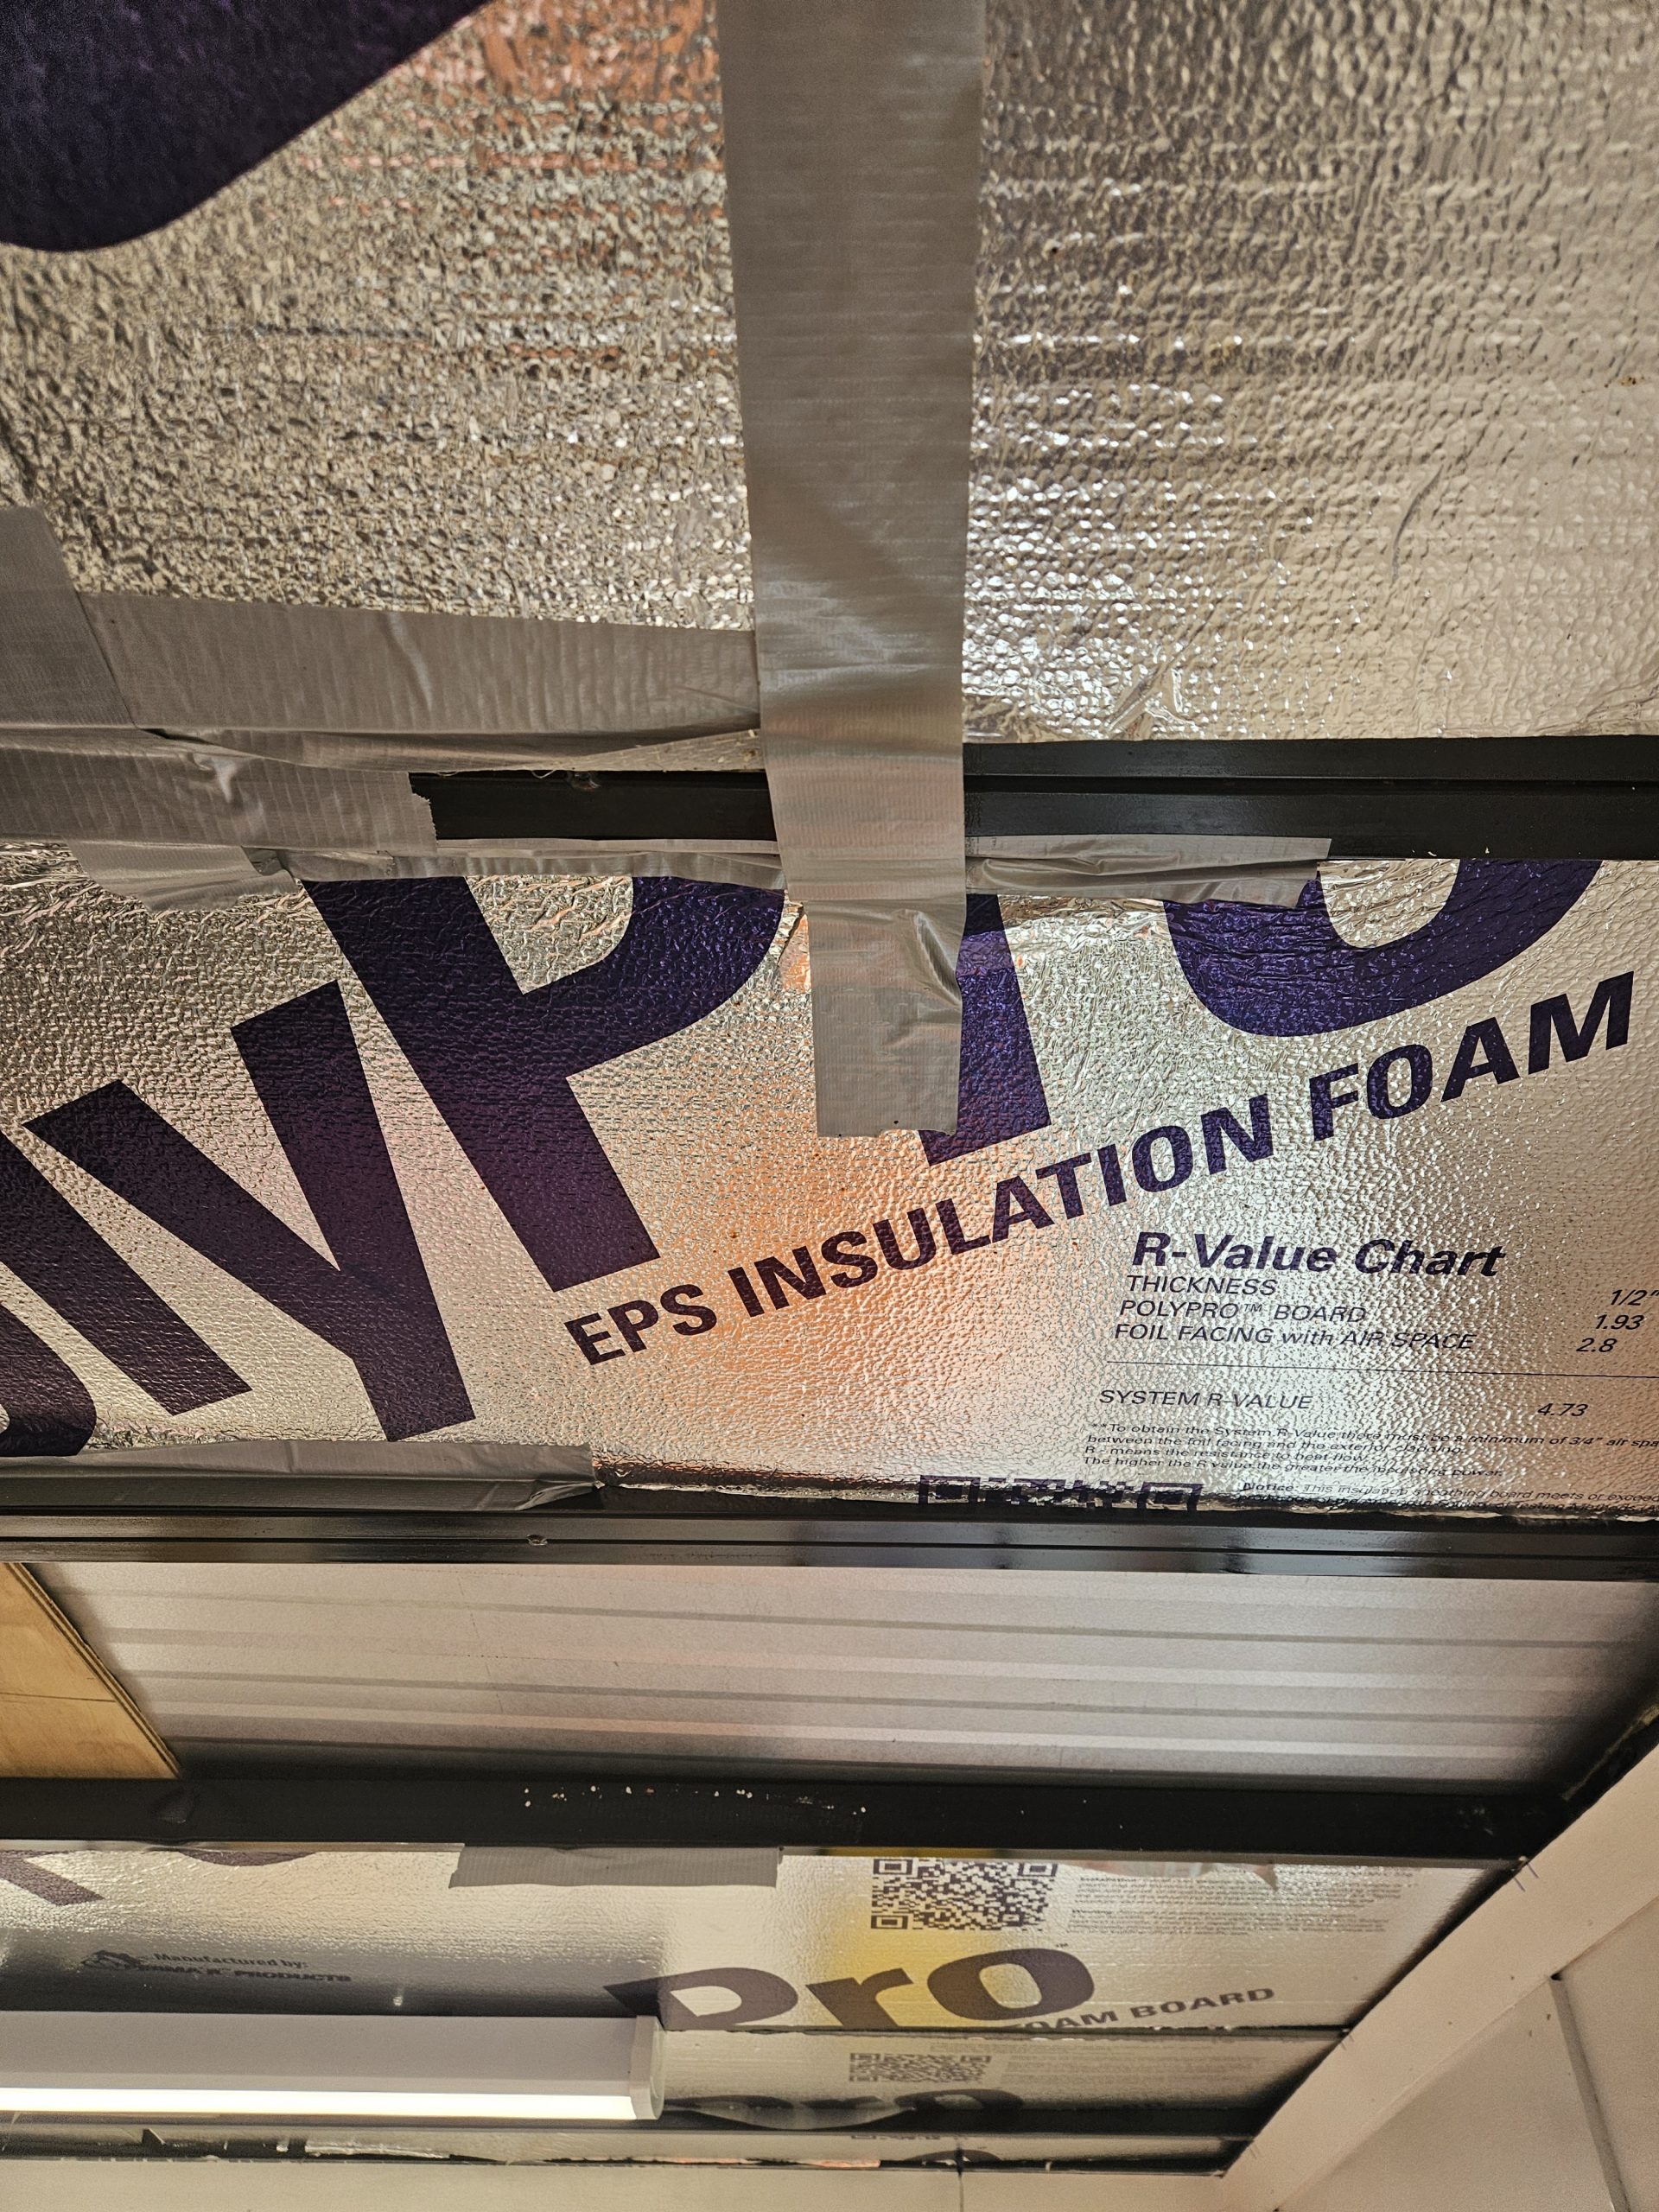
The ceiling ribs in the trailer are 1″ tubing. That means we have to be fairly precise where two panels share one rib for support. I’m using sheet metal screws and finish washers (since they’re larger and more visually appealing). Fore and aft of the centrally mounted ceiling vent the ribs are doubled to accommodate a roof-mounted air conditioner. The double ribbing will help as each adjoining panel can use its own rib.
So, the order of business seems to be 1) measure the ceiling (again) to get the width of each panel, 2) cut the panels, 3) dry-fit them, 4) paint them, 5) install them. We’re using a high gloss white enamel, the same as we used for the walls.
There is a challenge I did not mention earlier; there are two 36-inch led light fixtures that run across one rib each, centered on the width of the trailer. Additionally, there is a ceiling vent centered in the middle of the trailer. Panels will have to be notched for the lights, and a hole will have to be cut for the ceiling vent. More measurements!
We are almost done with the trailer projects — maybe. Water tank, ice bin, more plumbing, A/C, larger inverter. . . .